Not every model looks the same. And that’s a good thing. The idea that there’s one perfect way to pose for the camera is outdated. What works for a tall, lean fashion model might look awkward on someone with curves, or shorter limbs, or broader shoulders. The truth? Flattering model poses aren’t about changing your body-they’re about working with it.
Know Your Body Type First
Before you even step in front of the camera, take five minutes to understand your shape. You don’t need a professional analysis. Just stand in front of a mirror. Do you carry weight more in your hips and thighs? That’s a pear shape. Do your shoulders and chest stand out more? You might be an inverted triangle. Are your waist and hips roughly the same width? You’re likely an hourglass. And if your measurements are fairly even all over? You’re a rectangle. These aren’t labels-they’re tools.
Each body type responds differently to angles, weight distribution, and limb placement. The goal isn’t to hide anything. It’s to highlight what’s already there. A pose that makes one person look confident might make another look stiff. It’s all about alignment.
Poses for Pear Shapes
If your hips and thighs are your most prominent features, you want to balance them out. Avoid standing straight on with both feet flat. That draws attention straight to the widest part of your frame.
- Try the side angle: Turn your body 45 degrees to the camera. Let one hip stick out slightly. Keep your shoulders relaxed and facing forward. This creates a natural curve and elongates your legs.
- Place one hand on your hip, the other gently resting on your thigh. This draws the eye upward and downward, creating visual balance.
- Wear clothing that fits snugly on top and flows slightly on the bottom. A fitted top with a flared skirt or wide-leg pants helps create symmetry.
- Keep your knees soft. Locking them makes legs look thicker. Slight bends add movement.
Pro tip: Avoid poses where both arms are raised above your head. It can make your lower half feel heavier. Instead, let one arm hang naturally by your side.
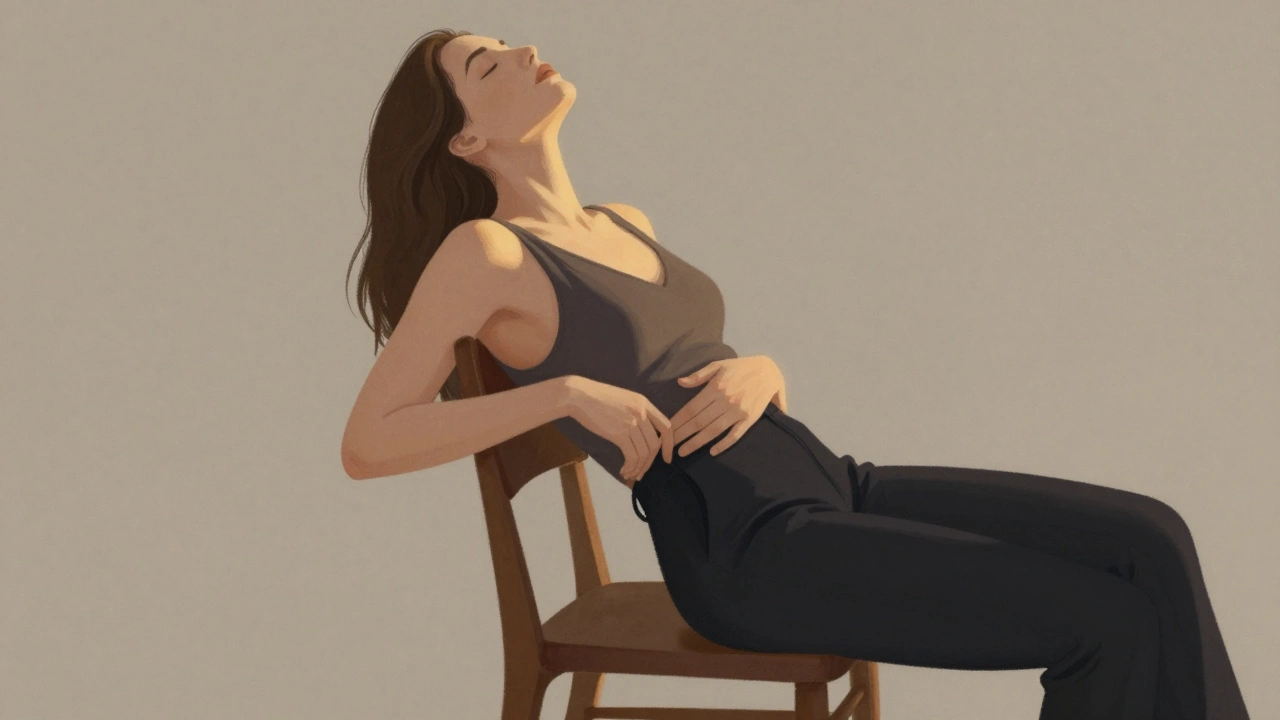
Poses for Inverted Triangle Shapes
If your shoulders and bust are broader than your hips, you want to create the illusion of width in your lower half. This isn’t about hiding your shoulders-it’s about harmony.
- Use hip shifts: Stand with your weight on one leg and gently push your hip out. This opens up your lower body and adds dimension.
- Try the leaning pose: Lean back slightly against a wall or chair. Let your arms rest on the surface. This elongates your torso and balances your upper body.
- Wear low-cut tops or V-necks to draw attention upward. Pair with darker, fitted bottoms to visually narrow your shoulders.
- Use your hands to frame your face or gently touch your waist. This brings focus to your center.
Pro tip: Avoid standing perfectly straight with arms at your sides. It makes your upper body look even wider. A slight turn or tilt adds grace.
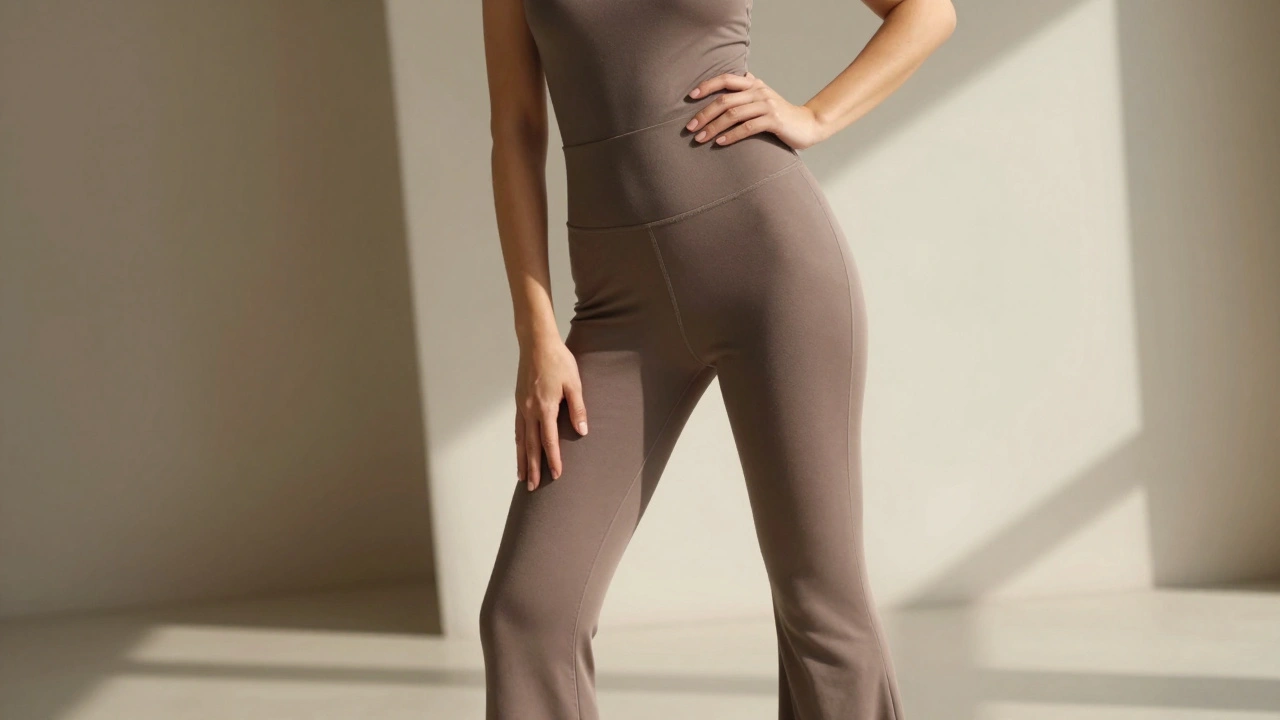
Poses for Hourglass Shapes
If you have defined curves with a narrow waist, you’re already working with a naturally balanced shape. The key here is to emphasize it-not distort it.
- Stand with your weight on one leg and gently curve your spine. This accentuates your waist and hips without forcing it.
- Place one hand on your hip, the other lightly touching your waist. This draws attention to your natural waistline.
- Use over-the-shoulder glances: Turn your head slightly over your shoulder while keeping your body facing forward. It’s classic, elegant, and shows off your silhouette.
- Wear form-fitting clothes that hug your curves. Avoid baggy tops or overly loose pants-they hide what you’ve got.
Pro tip: Don’t overdo the curve. A natural sway is enough. Forced poses can look unnatural. Let your body move like it wants to.
Poses for Rectangle Shapes
If your shoulders, waist, and hips are similar in width, you want to create the illusion of curves. This isn’t about changing your body-it’s about adding dimension.
- Use layered posing: Cross one leg in front of the other. This creates a subtle angle and breaks up straight lines.
- Try the twist pose: Turn your upper body slightly in one direction while your hips face forward. This adds shape to your torso.
- Wear belts, ruched tops, or peplum jackets. These add definition to your waist.
- Place your hands on your hips or gently hold the fabric of your top at the waist. This creates a visual waistline.
Pro tip: Avoid standing perfectly still with arms at your sides. It makes you look like a mannequin. A slight tilt, a bend in the knee, or a hand in your pocket changes everything.
Poses for Apple Shapes
If your midsection is your most prominent feature, you want to draw attention away from your center and toward your face, legs, or arms.
- Use vertical lines: Wear long, flowy tops or dresses that hit below the hips. This elongates your frame.
- Stand with one arm raised and bent at the elbow, hand near your head. This draws the eye upward and creates a slimming line.
- Turn your body 45 degrees and let your weight rest on one leg. This avoids a front-on view of your midsection.
- Use props: Hold a bag, a book, or lean on a railing. This gives your arms something to do and shifts focus.
- Keep your shoulders relaxed. Tensing them makes your torso look wider.
Pro tip: Avoid tight waistbands or cropped tops that end at your belly. They create a visual break right where you don’t want attention.
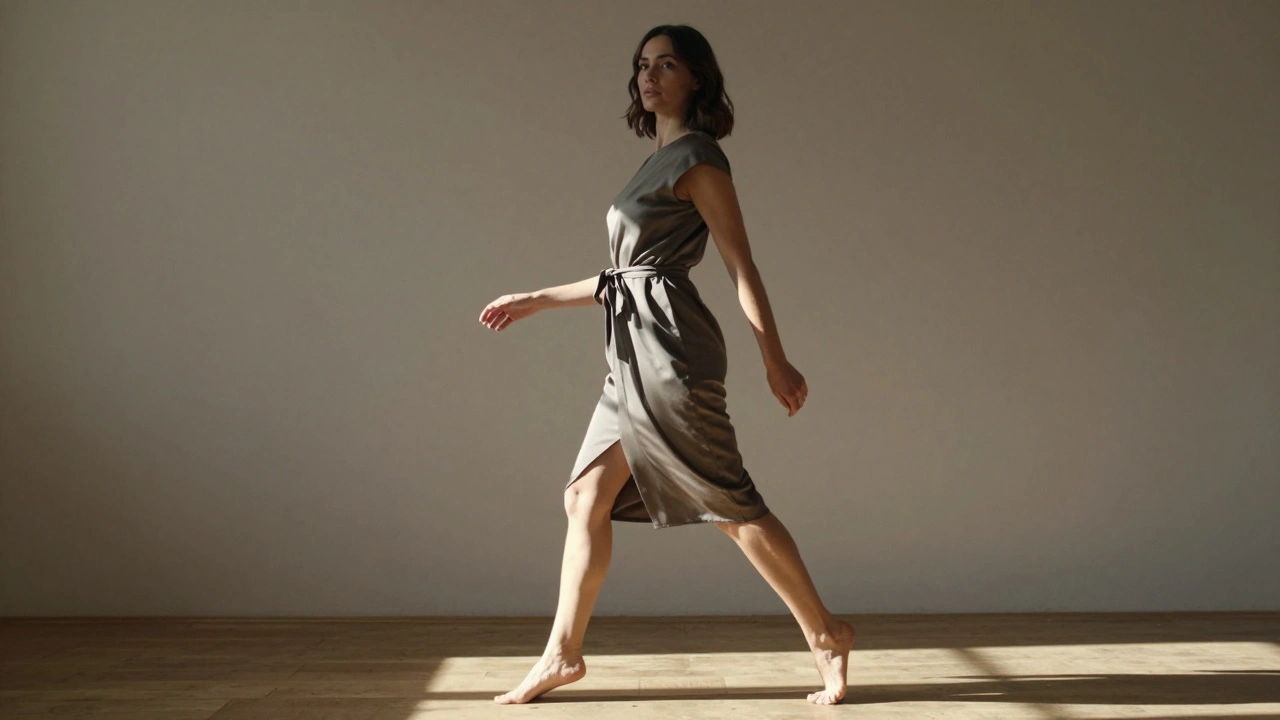
Universal Poses That Work for Everyone
Some poses transcend body types. They’re reliable because they use angles, shadows, and movement to flatter any frame.
- The Three-Quarter Turn: Stand at a 45-degree angle to the camera. This adds depth and slims the body naturally.
- The S-Curve: Gently curve your spine from neck to hips. It’s subtle, elegant, and creates natural flow.
- The Hand-on-Hip: One hand on your hip, the other relaxed. It’s classic, confident, and works for every shape.
- The Over-the-Shoulder Look: Turn your head over your shoulder while keeping your body facing forward. It adds softness and dimension.
- The Leaning Pose: Rest one arm on a wall, chair, or railing. It relaxes your posture and adds structure.
These aren’t just poses-they’re habits. Practice them in front of a mirror. Record yourself. See how your body moves. You’ll start to feel which ones feel right.
What to Avoid
Some poses are universally unflattering-not because they’re wrong, but because they’re overused and don’t account for individuality.
- The double chin pose: Tilt your head back too far. It stretches the neck and creates unwanted shadows.
- Arms too tight: Holding your arms rigidly at your sides makes you look stiff. Let them breathe.
- Standing perfectly straight: It flattens your silhouette. Even a slight bend in the knee helps.
- Over-posing: If you’re forcing your body into unnatural shapes, it shows. Relaxation is key.
Remember: The best poses aren’t the ones you copy from Instagram. They’re the ones that feel like you.
Practice Makes Permanent
Posing isn’t magic. It’s muscle memory. The more you move, the more natural it becomes. Set up your phone on a tripod. Try three poses a day. Don’t judge them. Just observe.
Notice how light hits your body. Notice how turning your foot slightly changes your whole look. Notice how a small shift in your shoulder lifts your chest. These tiny adjustments are what separate good photos from great ones.
You don’t need a stylist. You don’t need a coach. You just need to pay attention.
Final Thought: Confidence Is the Best Pose
No matter your shape, the most flattering thing you can do is stand like you belong there. Shoulders back. Chin up. Breathe. When you feel comfortable in your skin, the camera picks up on it instantly. Poses can enhance your body-but they can’t create confidence.
So find the poses that feel like you. Not the ones you think you should do. The ones that make you smile when you see them.
What’s the best pose for a pear-shaped body?
The best pose for a pear-shaped body is a 45-degree side angle with one hip slightly out and one hand resting on the hip. This balances the hips with the upper body and elongates the legs. Avoid standing straight on or raising both arms above the head.
How can I make my waist look smaller in photos?
You can’t change your waist size, but you can create the illusion of a smaller waist by using contrast. Wear a fitted top with a belt, or place your hand gently on your hip. Leaning slightly to one side and turning your body at an angle also helps define your waistline naturally.
Do I need to be skinny to look good in photos?
No. Flattering poses are about working with your natural shape, not shrinking it. Many of the most photographed models have curves, broad shoulders, or shorter frames. The key is using angles, lighting, and posture to highlight your strengths-not hide your body.
How do I pose if I have broad shoulders?
Use poses that add width to your lower body. Shift your hip out, wear darker bottoms, and avoid raising both arms above your head. Leaning back slightly or resting one arm on a surface helps balance your upper body visually.
What’s the quickest way to look more confident in photos?
Stand with your weight on one leg, turn your body slightly, and let one hand rest naturally at your side. Tilt your chin up just a little and breathe. That’s it. Confidence shows in posture-not perfection.