Why Posing Matters More Than You Think
Fitness model posing is the art of using body positioning, muscle engagement, and camera angles to create visually striking images that highlight physical strength and definition. Most people think posing for fitness photos is just standing straight and flexing. But that’s a myth. The difference between a good photo and a stunning one comes down to subtle shifts in posture, angles, and muscle engagement. A 2025 study by the International Association of Fitness Photographers found that photos using proper posing techniques get 30% more engagement on social media. But you don’t need a team of experts to pull it off. Let’s break down exactly how to do it.
The Foundation of Great Poses
Great posing starts with understanding a few core principles. First, avoid straight lines. Standing with your body perfectly straight creates a flat, uninteresting silhouette. Instead, create angles-bend your knees, tilt your hips, turn your shoulders. This adds depth and dimension to your photo.
Second, engage muscles without overdoing it. Flexing too hard makes you look tense. Instead, find that sweet spot where you feel the muscle working but can still relax slightly. Practice in front of a mirror to see how small adjustments change your look.
Third, use your entire body. Even when focusing on one area, like your arms, your legs and core should be engaged. This creates a cohesive, powerful stance.
Step-by-Step Poses for Key Body Parts
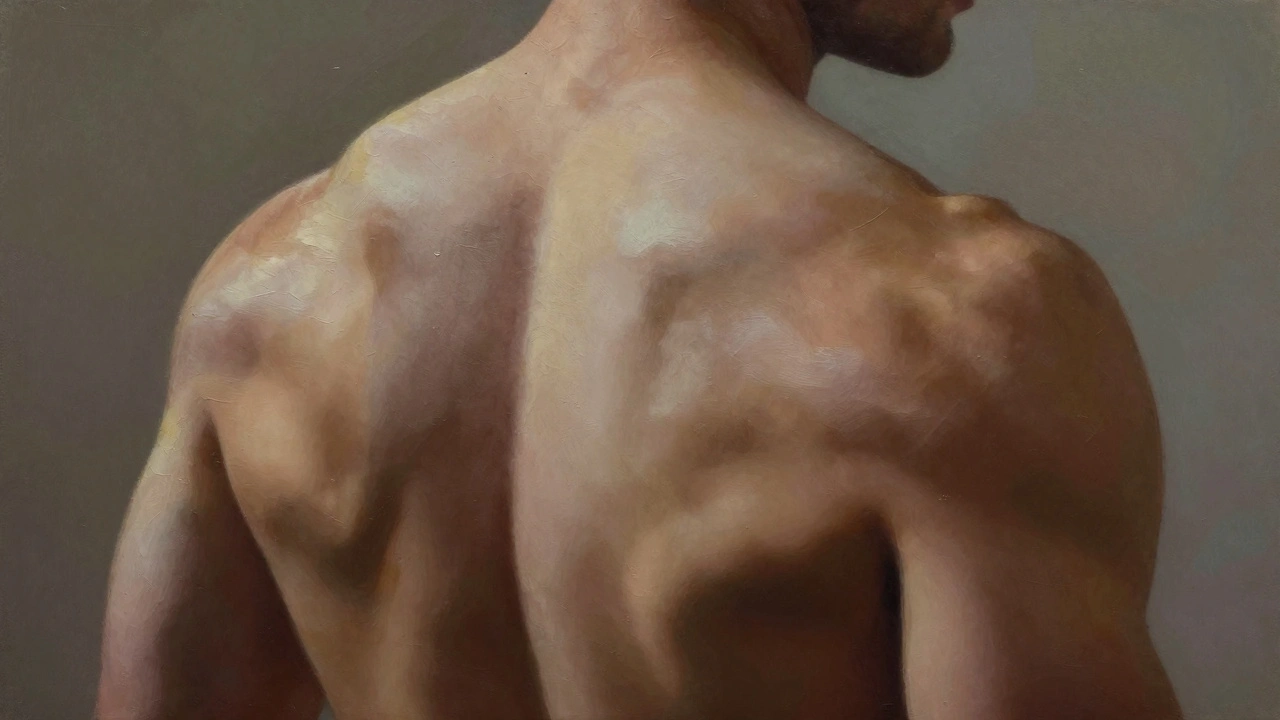
deltoids are the muscles on your shoulders. When posing, squeeze them to pull your shoulders back and down. This creates a wider upper body and adds definition to your back. For example, imagine holding a tennis ball under each armpit-subtle tension without strain.
For your trapezius muscles, which run from your neck to your shoulders, focus on pulling them down. This prevents a hunched posture and makes your neck look longer. Try this: lift your shoulders toward your ears, then drop them down and back. Repeat a few times to find the right position.
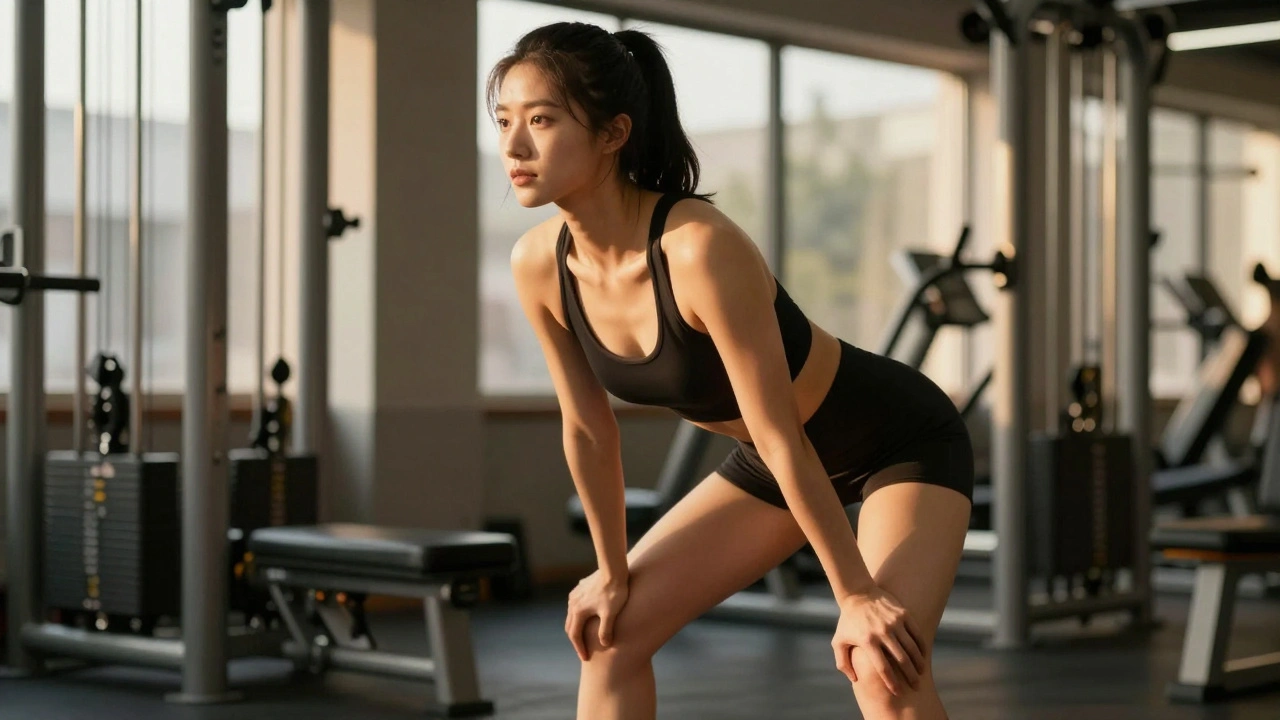
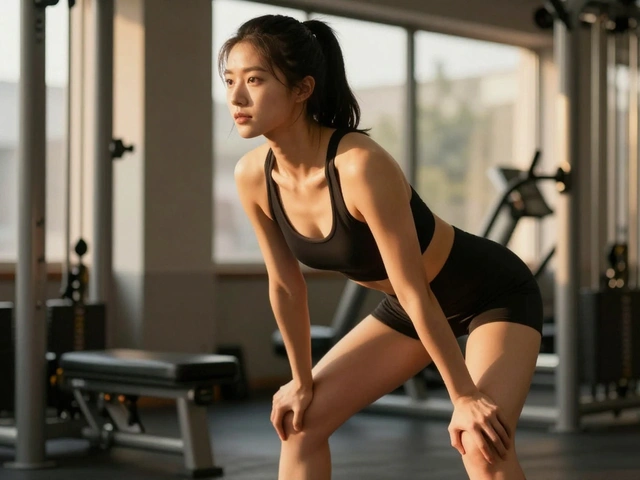
When posing your glutes and hamstrings, shift your weight to one leg. This creates a natural curve in your lower back. For a more dynamic look, cross one ankle over the other and gently shift your hips. This works especially well for bikini or swimwear photos.
For your core muscles, engage your lower abs by pulling your navel toward your spine. This tightens your midsection without sucking in, which looks unnatural. Imagine zipping up a tight pair of jeans.
Lighting and Camera Angles
lighting techniques can make or break your photo. For definition, side lighting creates shadows that highlight muscle separation. Avoid harsh overhead light-it flattens your features. If you’re outdoors, shoot during golden hour (early morning or late afternoon) for soft, warm light.
camera angles matter too. Shooting from slightly above makes your legs look longer. For a powerful look, shoot from below to emphasize height and strength. But don’t go too low-this distorts proportions. A tripods helps keep the camera steady for consistent shots.
Common Mistakes to Avoid
One common mistake is over-flexing. Holding muscles too tight makes you look tense, not strong. Instead, engage muscles just enough to feel the tension, then relax slightly. Practice in front of a mirror to find that sweet spot.
Another mistake is straight lines. Standing with feet together and arms at your sides creates a flat, uninteresting silhouette. Always create angles-bend knees, tilt hips, turn shoulders. This adds depth and dimension.
Also, don’t forget about posture. Slouching or leaning too far forward ruins the look. Keep your spine neutral-ears over shoulders, shoulders over hips. This creates a strong, confident stance.
Practice Tips for Real-World Scenarios
Start by practicing in front of a mirror. Take photos of yourself from different angles. Notice how small adjustments change your look. Focus on one body part at a time-shoulders, then arms, then legs.
If you’re shooting with a friend, ask them to guide you. Say ‘move my left shoulder back a bit’ or ‘tilt your hips to the right’. Real-time feedback helps build muscle memory.
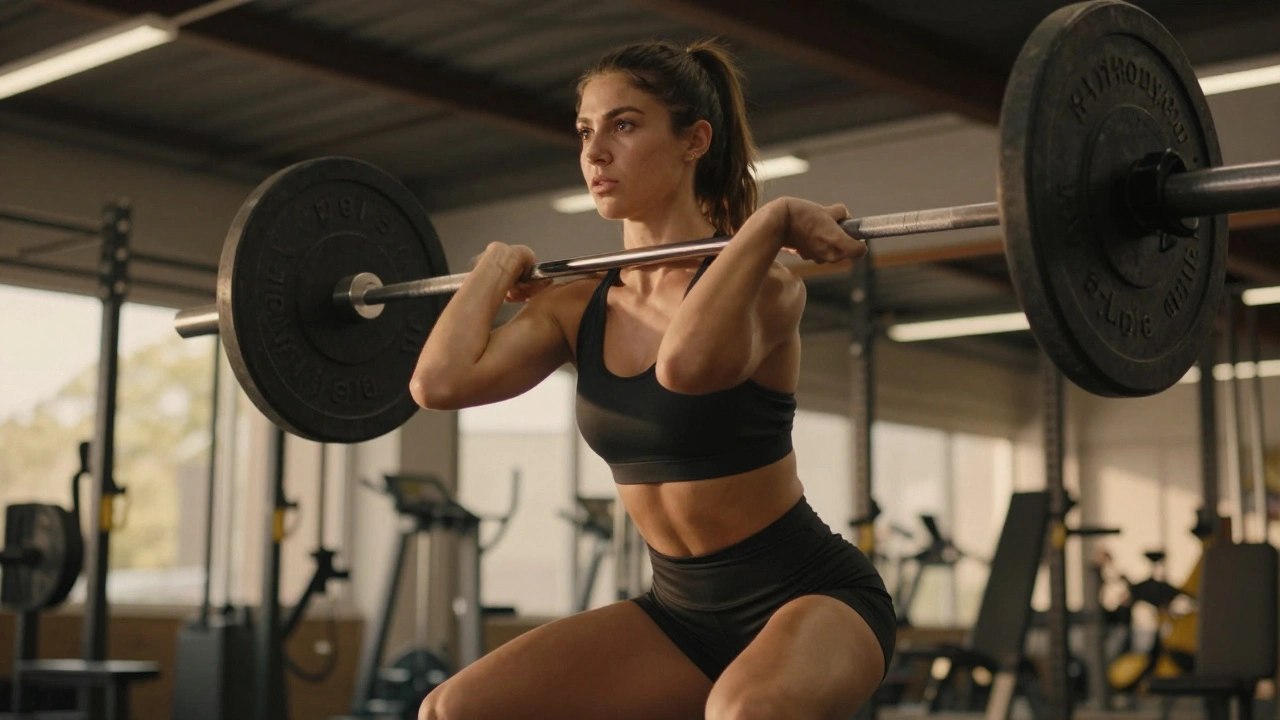
For gym photos, use the equipment. Leaning against a bench or holding a barbell creates natural support and adds context to the shot. Just make sure the equipment looks intentional-not like you’re struggling to hold it.
Comparison of Common Poses
| Pose Type | Best For | Key Technique | Common Mistake |
|---|---|---|---|
| T-Pose | Full-body shots, showcasing symmetry | Arms extended straight out, palms down | Locking elbows, making arms look stiff |
| V-Pose | Legs and glutes focus | Feet apart, knees slightly bent, hips tilted forward | Over-arching the back |
| Side Angle | Highlighting muscle definition | Turn 45 degrees from camera, shoulders back | Turning completely profile, losing depth |
| Dynamic Action | Workout scenes, movement | Mid-motion, like lifting a weight | Overexaggerating the movement, looking unbalanced |
Frequently Asked Questions
How do I engage my muscles without looking tense?
The key is subtle engagement. Start by tightening the muscle group you want to highlight-like your biceps or glutes-just enough to feel the tension. Then, relax slightly. Imagine you’re holding a tennis ball under your armpit; you’re not squeezing hard, but there’s enough pressure to keep it in place. Practice in front of a mirror to find the right balance. Over time, you’ll develop muscle memory for this sweet spot.
What’s the best angle for a front-facing photo?
For a front-facing shot, position yourself at a 45-degree angle to the camera. This creates depth and shows both sides of your body. Tilt your head slightly toward the camera and keep your shoulders back. Avoid facing the camera straight on-it flattens your features and makes you look less defined.
Do I need professional equipment to take good fitness photos?
Not at all. A smartphone with a good camera works perfectly. Use natural light from a window or outdoors during golden hour. A simple tripod can help stabilize shots, but you can also prop your phone on a stack of books. The most important tool is knowing how to pose-equipment just helps capture it clearly.
How can I practice posing alone without a trainer?
Set up a mirror and your phone. Take photos from different angles and review them. Focus on one body part at a time-like shoulders or legs-and make small adjustments. Notice how each change affects your look. Over time, you’ll recognize what works and what doesn’t. Consistency is key; practice daily for 10 minutes.
What clothing works best for fitness photos?
Choose fitted clothing that shows muscle definition without being too tight. For example, a compression shirt or high-waisted leggings. Avoid baggy clothes-they hide your shape. Solid colors work better than patterns, as they draw attention to your physique. For outdoor shots, wear moisture-wicking fabric to stay comfortable and look fresh.


February 8, 2026 AT 07:53
Alix Dana
I've been practicing these poses for a few weeks and the results are amazing. The key is finding that sweet spot between engagement and relaxation-flexing too hard makes you look tense. Practicing in front of a mirror helps a lot. Keep it up!
February 9, 2026 AT 15:51
rachel newby
Lighting is everything. Done.
February 11, 2026 AT 11:43
Chris Hill
This is a fantastic guide. I especially appreciate the focus on avoiding straight lines and creating angles. It's fascinating how small adjustments can transform the entire image. The step-by-step breakdown for each body part is incredibly helpful. Well done!
February 12, 2026 AT 11:54
Damien TORRES
Upon meticulous examination of the provided guidelines, it is evident that the foundational principles of effective posing for fitness photography are both intricate and highly nuanced. The article correctly identifies that maintaining straight lines in posture results in a visually flat silhouette, which is undesirable. Instead, strategic angling of the knees, hips, and shoulders is essential for creating depth and dimension. Additionally, the precise engagement of specific muscle groups-such as the deltoids and trapezius-requires a delicate balance to avoid excessive tension while still highlighting definition. Furthermore, the interplay between lighting techniques and camera angles is critical; side lighting enhances muscle separation, while a slightly elevated camera angle can elongate the legs and enhance overall proportions. I would also note that the table comparing common poses is particularly insightful. For instance, the T-Pose section correctly highlights the importance of not locking elbows, which can make the arms appear stiff. Similarly, the V-Pose section warns against over-arching the back, a common mistake that can lead to strain. The Side Angle pose is excellent for showcasing muscle definition when executed properly. Dynamic Action poses, however, require careful attention to balance; overexaggerating movements can make the subject look unsteady. It's also worth mentioning that the FAQ section provides practical advice on engaging muscles without tension, such as the tennis ball analogy. The lighting section is thorough, emphasizing golden hour for natural light. However, the article could expand on the role of background elements in composition. Overall, this guide is exceptionally well-researched and offers actionable steps that are both practical and scientifically grounded, making it an invaluable resource for anyone seeking to improve their fitness photography. I've personally implemented many of these techniques and have seen significant improvements in my own photos.
February 14, 2026 AT 09:08
Marie Liao
Your comment is overly simplistic. While lighting is important, the article emphasizes that proper muscle engagement and posing technique are foundational. Without those, lighting alone cannot compensate for poor form. This reductionist view demonstrates a lack of understanding of the subject.
February 15, 2026 AT 20:02
Steve Trojan
I've noticed that different cultures approach fitness photography differently. In some Asian countries, they focus more on subtle expressions and natural poses, while Western styles often emphasize exaggerated muscle definition. This guide bridges that gap beautifully. It's all about adapting the techniques to your own body type and cultural context. Great resource!
February 17, 2026 AT 10:15
Daniel Seurer
I totally agree with Chris. When you start practicing, it's easy to get overwhelmed by all the details. But breaking it down into each body part makes it so much easier. I used to think flexing hard was the way to go, but now I know it's about finding that sweet spot where you feel the muscles working but still look natural. It takes time, but it's worth it. Keep practicing!
February 18, 2026 AT 03:51
Shane Wilson
Thank you for this detailed guide. The emphasis on maintaining a neutral spine and avoiding straight lines is particularly valuable. Proper posture is key to achieving professional results in fitness photography. This is a well-researched and practical resource.
February 19, 2026 AT 00:54
Darren Thornton
I've noticed that the article references a '2025 study' which is impossible since the year 2025 hasn't occurred yet. Additionally, the phrase 'sucking in' should be 'drawing in' when referring to abdominal engagement. These inaccuracies should be corrected for accuracy.