Lighting doesn’t just illuminate your model-it defines the mood, shapes the body, and turns a good photo into a memorable one. Too many photographers rely on flat, overcast daylight or harsh overhead studio lights, and wonder why their model shots feel lifeless. The truth? Lighting is the difference between a snapshot and a cover-worthy image. You don’t need expensive gear. You don’t need a team. You just need to understand how light behaves and how to control it.
Use Natural Light Like a Pro
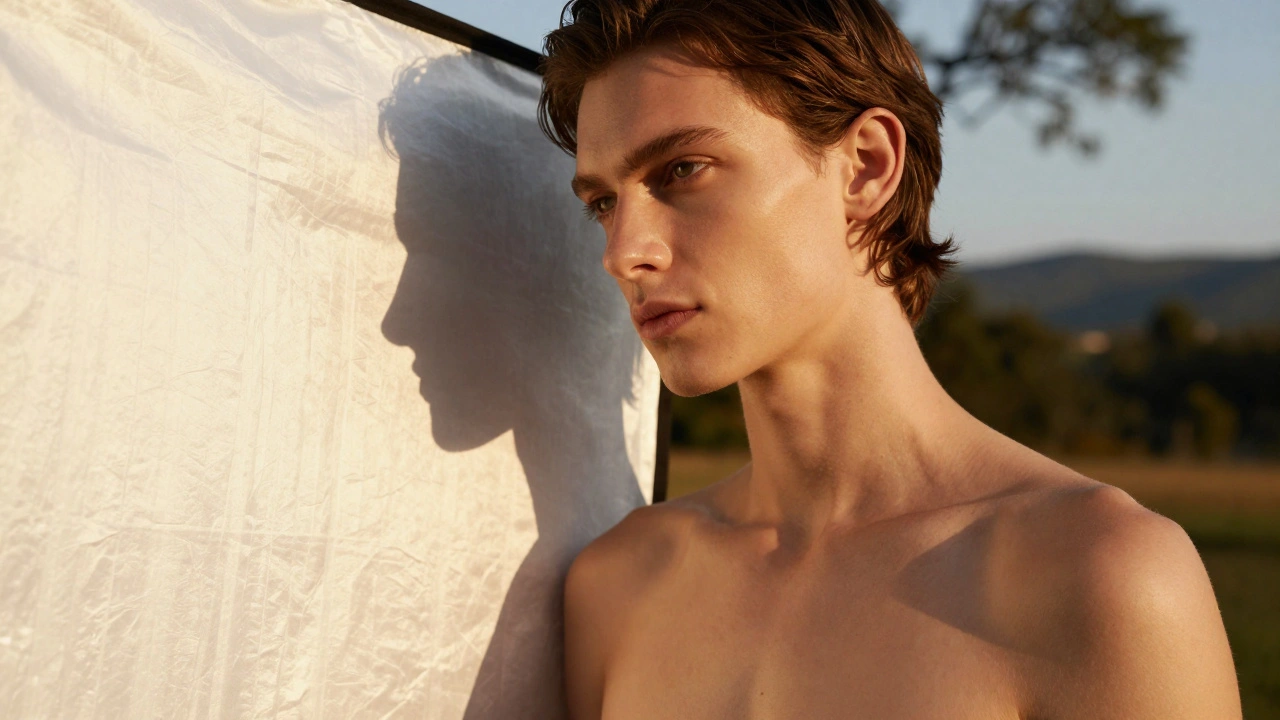
One of the most underrated tools in model photography is sunlight. It’s free, it’s soft, and when used right, it creates dimension no artificial light can match. The golden hour-roughly one hour after sunrise or one hour before sunset-is your best friend. During this time, the sun sits low in the sky, casting long, gentle shadows that contour the model’s face and body naturally.
Position your model so the light hits them at a 45-degree angle from the side. This creates a subtle gradient across the skin, highlighting cheekbones and collarbones without harsh contrast. If the light is too strong, use a white bedsheet or a reflector panel to bounce some of it back onto the shadow side. A simple 36-inch collapsible reflector costs under $20 and can double your lighting quality.
Don’t shoot in direct midday sun. The light is too harsh, creates unflattering shadows under the eyes and chin, and forces models to squint. If you must shoot midday, find shade under a tree, awning, or building. The light in shade is still directional, but diffused. You’ll get even, soft illumination that flatters skin tones and reduces glare on hair and makeup.
Master Three-Point Lighting
If you’re shooting indoors or in a studio, three-point lighting is the foundation. It’s not optional-it’s standard. Every professional fashion magazine, e-commerce brand, and editorial shoot uses it. The three lights are:
- Key light: The main source. It’s your strongest light, positioned at 45 degrees in front of the model and slightly above eye level. This defines the shape.
- Fill light: Softer and dimmer, placed on the opposite side to lift shadows created by the key light. Use a diffuser or bounce card to keep it gentle.
- Backlight (rim light): Placed behind the model, pointing toward their shoulders or hair. This separates them from the background and adds depth.
Start with the key light at 60% power. Add fill light at 30%. Then turn on the backlight until you see a faint glow along the edge of the model’s hair or shoulders. Too much backlight turns into a halo-too little and they look flat. Adjust until the model pops without looking like they’re glowing.
Use a light meter or your camera’s histogram to avoid overexposing highlights. A model’s skin can blow out easily. Aim for a histogram that doesn’t spike hard on the right side. If it does, reduce the key light or move it farther away.
Control Shadows with Modifiers
Light modifiers aren’t just accessories-they’re your tools for storytelling. A bare flash creates harsh, unflattering light. A softbox turns it into silk. A grid turns it into a spotlight. Here’s how to pick the right one:
- Softbox: Best for portraits. Gives even, wraparound light. Use a 24x36 inch softbox for full-body shots, a 12x24 for headshots.
- Beauty dish: Creates a crisp highlight on the nose and cheekbones. Popular in high-fashion editorial work. Adds a slight contrast that makes skin look polished, not flat.
- Grid: Focuses light into a narrow beam. Use it on the backlight to prevent light spill onto the background. Also great for creating dramatic eye lighting.
- Diffusion panel: Place it between the light and the model to soften harsh sources. Even a sheer curtain can work in a pinch.
Never use a bare flash on a model unless you’re going for a gritty, high-contrast look. Most commercial and editorial work calls for smooth transitions. If you’re unsure, always default to diffusion.
Color Temperature Matters More Than You Think
Light has color. It’s not just bright or dim-it’s warm or cool. Mixing color temperatures in a single shot can ruin skin tones. If your key light is 5600K (daylight white) and your fill is from a tungsten bulb at 3200K (warm orange), your model’s face will look patchy.
Always match your lights. If you’re using LED panels, set them all to 5500K. If you’re using strobes, make sure they’re calibrated. Use a gray card to set white balance in-camera. Don’t rely on auto white balance-it changes with every frame.
There’s an exception: intentional color contrast. Some fashion photographers use a cool backlight (6000K) with a warm key light (4500K) to create a cinematic look. But that’s a creative choice, not a mistake. Know the rules before you break them.
Shoot Against Dark Backgrounds for Drama
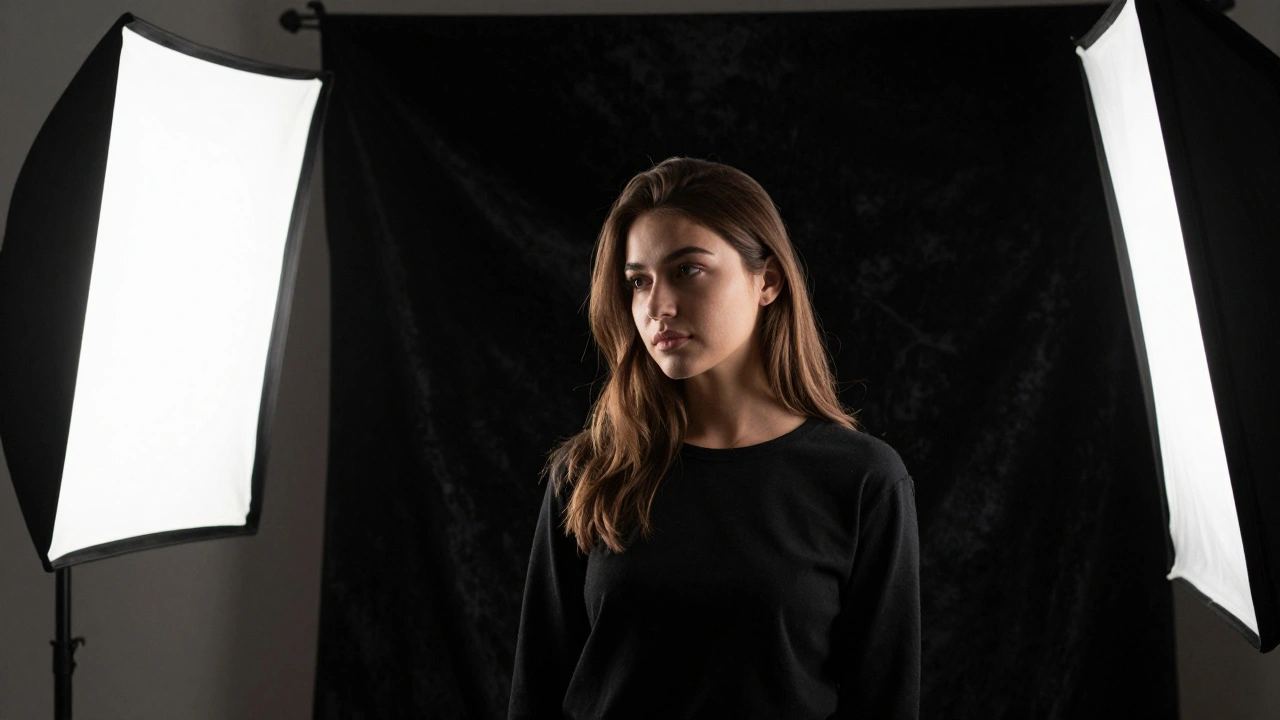
A black or deep gray background isn’t just trendy-it’s functional. It absorbs stray light, prevents reflections, and forces the viewer’s eye straight to the model. If you’re shooting on a white backdrop, you’re fighting light spill. The light bounces back, washing out shadows and making the model look like they’re floating.
Use a black velvet backdrop if you can. It’s the gold standard for absorbing light. If you’re on a budget, hang a dark blanket behind them and make sure it’s at least 4 feet away from the model. That distance prevents light from hitting it and reflecting back.
When you shoot against dark backgrounds, you can use lower power settings on your lights. Less spill means less power needed. That saves battery, reduces heat, and gives you more control.
Use Hair Light and Eye Light for Polish
These two small tricks separate amateur shots from professional ones.
Hair light: A narrow beam from behind, angled down slightly, catches the top of the model’s head and shoulders. It adds separation and texture to thick hair. Without it, dark hair can disappear into a dark background. Use a grid to keep the light tight.
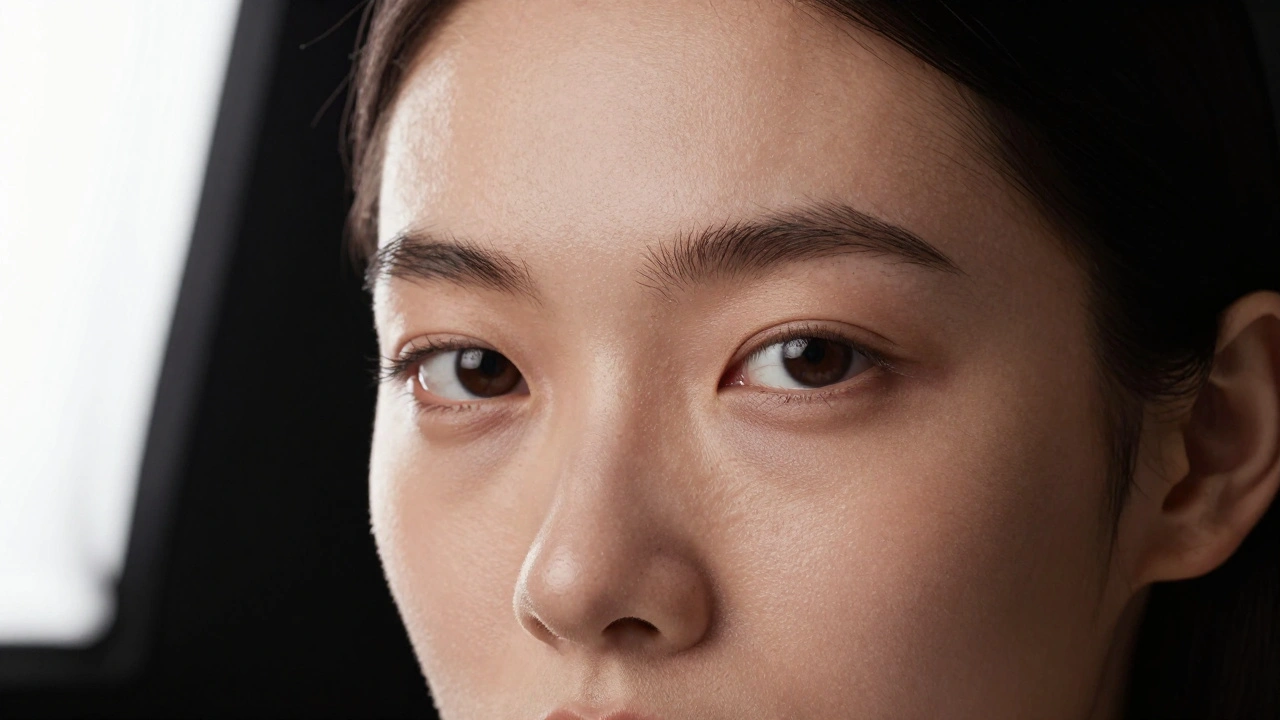
Eye light: A tiny catchlight in the model’s eyes makes them look alive. It’s not about brightness-it’s about placement. Position your key or fill light so it reflects as a small dot in the upper part of the iris. If you can’t see it, the model looks dull. If it’s too big, it looks unnatural. Use a small reflector or a single LED panel angled just right.
Many photographers forget this. But in fashion photography, the eyes are the emotional center. No catchlight? The image feels dead.
Test Before You Shoot
Never start a full shoot without testing. Set up your lights. Have your model stand in position. Take three test shots: one with all lights on, one with the fill off, one with the backlight off. Look at the histogram. Look at the shadows. Ask yourself: Do the cheekbones look defined? Is the skin glowing or flat? Does the background disappear?
Adjust one thing at a time. Move the key light 6 inches. Change the power by 1 stop. Then shoot again. This slow, methodical process builds intuition. After five or six tests, you’ll start seeing how light behaves before you even pick up the camera.
Also, check the model’s skin. If they’re sweating, shine is going to reflect light unpredictably. Blot them gently with a tissue. Use a matte setting spray if you have it. Shine ruins lighting control.
Common Mistakes to Avoid
- Lighting from directly in front: Flattens the face. Makes the model look two-dimensional.
- Using only one light: Creates hard, unbalanced shadows. Looks amateurish.
- Ignoring the background: A cluttered or reflective background steals focus.
- Shooting with mixed color temps: Skin tones look unnatural, like a photo collage.
- Forgetting catchlights: Eyes look lifeless. No emotion.
These aren’t just technical errors-they’re emotional ones. A model isn’t just posing. They’re telling a story. Lighting is how you help them say it.
What’s the cheapest way to improve model lighting?
A white foam board or a white bedsheet used as a reflector costs less than $10 and can instantly fill shadows. Place it opposite your main light source to bounce light back onto the model’s face or body. It’s the simplest upgrade most photographers overlook.
Can I use smartphone lights for model shoots?
Not for professional results. Smartphone flash is too harsh, too small, and too blue. It creates unflattering shadows and overexposes skin. If you must use one, turn off the flash and rely on natural light near a window. Use apps that let you adjust white balance manually. But for serious work, invest in a small LED panel or studio strobe.
How do I light a model with dark skin?
Dark skin absorbs more light, so you need more of it. Use a key light slightly brighter than you would for lighter skin, and increase the fill light to 40-50% of the key. Avoid underexposing-this flattens texture and detail. Use a reflector to lift shadows on the neck and shoulders. Always check your histogram: the left side should not be crushed.
Do I need a studio for good model lighting?
No. Many top model shots are taken outdoors. Natural light during golden hour, combined with a reflector, can outperform a poorly set-up studio. The key isn’t the space-it’s how you control the light. A bedroom with a window and a white wall can be a perfect setup if you know what you’re doing.
What’s the best lighting for a bikini or swimwear shoot?
Use a softbox positioned slightly above and to the side to sculpt the body without harsh shadows. Add a backlight to define the curve of the shoulders and waist. Avoid direct overhead lighting-it creates unflattering shadows under the breasts and abdomen. A slight rim light on the hair and legs adds polish. Shoot in shade if possible to avoid squinting and sweat.