Ever snapped a killer shot but noticed a sudden blemish or a flyaway hair that pops out? That’s where retouching steps in—think of it as a digital touch-up, the way you might swipe away lint before a big meeting. Retouching helps you clean up distractions without turning your photos into plastic dolls.
No fancy degree or expensive software required. You can start with simple apps like Lightroom or even GrabPaint, smoothing skin and fixing colors in just a few clicks. The trick? Don’t go overboard. Keep skin texture so photos stay looking real, not cartoonish. If you polish out every pore or shadow, your model starts looking like someone else. That’s not the goal here.
Most pro photographers swear by spot-healing and dodge-and-burn for a reason. These tools let you tackle zits, bags under eyes, or uneven lighting—basically, whatever bugs you most. Just remember to zoom out now and then. If something jumps out at you on the screen, chances are it'll scream from your printed shots too.
- What Is Retouching in Model Photography?
- Why Retouching Matters (and When to Stop)
- Top Tips and Tools for Realistic Edits
- Common Mistakes and How to Avoid Them
What Is Retouching in Model Photography?
Retouching in model photoshoot work is basically editing photos to fix problems or highlight the best parts of the subject. You might clean up acne, even out skin tone, smooth out wrinkles, get rid of stray hairs, or brighten teeth. Retouching makes the image look polished without making your model look like a different person. It’s not about lying; it’s about showing your model at their best while keeping everything believable.
Some people mix up retouching with heavier photo manipulation. Here’s the difference: basic retouching focuses on fixing small distractions—think zits or lint—while manipulation can mean completely changing body shapes or adding things that weren’t there. Most magazines and brands these days recommend a light touch—keep it real, unless the client wants that wild, fantasy look.
- Spot healing is great for removing small blemishes and dust.
- Dodge and burn helps balance highlights and shadows, so faces pop without looking washed out.
- Clone and patch tools work well for wrinkles in clothes or stray hairs.
In 2024, a survey by the International Photographers Association found that 87% of professional fashion photographers retouch every portrait editing job—usually for less than 20 minutes per image. If you’re doing your own editing, remember: the goal is to improve, not erase. Keep natural skin texture and don’t push sliders too hard. In real-world shoots, small tweaks can make a big difference; no one wants to look blurry or waxy.
Retouching software options have exploded, too. The standouts: Adobe Lightroom for batch adjustments, Photoshop for more control, and mobile options like Snapseed if you’re on the go. With all these tools, it’s easy to get started and keep your photography tips sharp.
Why Retouching Matters (and When to Stop)
Here’s the deal—photo retouching isn’t about faking it till you make it. It’s more about showing off your model, your style, and your client’s vision, minus the stuff nobody signed up for, like last-minute breakouts, lint, or harsh shadows. A clean shot makes your whole model photoshoot feel more polished. If you’re posting images for an agency or client, trust me, they expect crisp, pro-level pictures. Even a few tweaks can boost your portfolio or help your model stand out in castings.
Too much editing, though, can backfire. Ever seen those awkward ads with models who look like wax statues? That’s from going heavy-handed—wiping out every wrinkle, smoothing skin until it’s unreal. It’s not just the internet calling it out; according to a 2022 Getty Images survey, nearly 70% of people said they prefer images where the subject still looks human and authentic.
- Moderate portrait editing helps remove small distractions.
- Color tweaks can fix off-lighting from bad weather or weird makeup.
- Smoothing can even out skin, but leave pores and texture visible.
- Fixing wardrobe malfunctions or wild hairs is fair game—nobody wants those pulled focus.
So, when to stop? Step back after each round of edits and take a break, or show your shot to a friend. If the model still looks like themselves, you’re golden. If you’re debating whether to fix another tiny imperfection, you’ve probably done enough. Keeping it real is what agencies and brands are wanting these days. Think of retouching as that little bit of extra effort that pushes your already great photo across the finish line, without crossing into the land of the unbelievable.
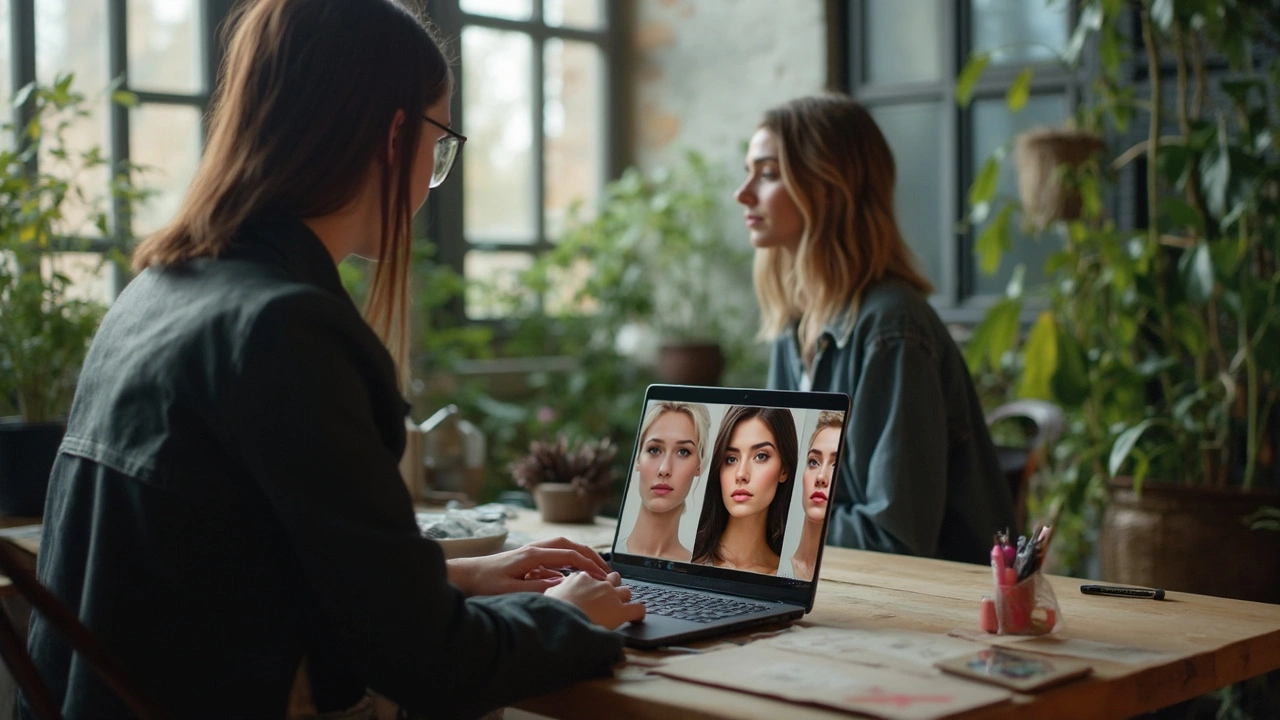
Top Tips and Tools for Realistic Edits
If your goal is to make your model photoshoot images pop—without losing what makes your model unique—nailing your edit is key. The best retouching tricks focus on fixing what distracts, not erasing every detail. Let's break down the biggest tips and the coolest tools you can use (even if you’re not a Photoshop master).
- Keep Skin Texture Alive: Nobody’s skin is glass-smooth up close. Instead of heavy blurring, try frequency separation or Lightroom’s texture slider. This lets you smooth blemishes while keeping pores and natural lines visible.
- Spot Healing Tools: Lightroom, Photoshop, and apps like Snapseed all have this. For pimples, stray hairs, or lint on clothes, just tap the spot. It’s a lifesaver for little distractions.
- Dodge & Burn: Rather than blasting away wrinkles or shadows, use burn (darken) and dodge (lighten) tools to shape and even out skin or shadows. It takes more patience but looks miles more natural.
- Color Balance is Everything: Messy color can ruin even the sharpest photo. Use white balance and color grading sliders to keep skin tones true. Too much orange or blue? Dial it down until things look real.
- Selective Sharpening: Sharpen eyes, brows, and lips just a touch, then back off on skin. This pulls viewers in—after all, eyes are always the first place we look.
Now, let’s hit the most-used editing apps for photo retouching and portrait editing:
- Adobe Lightroom: The go-to for global adjustments, plus spot removal, skin smoothing, and easy-to-use color sliders.
- Photoshop: Powerful for tricky fixes, like frequency separation or advanced dodge and burn. If you’re serious about model photoshoots, it’s worth learning.
- Snapseed (Mobile): Free and super intuitive on your phone. Brush, spot healing, and filters all work great for quick edits on the fly.
- RetouchMe and FaceTune: If you want one-tap fixes—just don’t get carried away. These apps are best for fast tweaks without deep editing skills.
| Tool | Best For | Skill Level |
|---|---|---|
| Lightroom | Color & exposure, quick fixes | Beginner-Advanced |
| Photoshop | Detailed retouching, pro editing | Intermediate-Pro |
| Snapseed | On-the-go edits | Beginner |
| RetouchMe/FaceTune | Quick mobile fixes | Beginner |
One last piece of advice: Work on a calibrated screen if you can. If your monitor’s colors are off, your edits might look weird everywhere else. And always step away for a few minutes—fresh eyes spot mistakes you missed in the moment.
Common Mistakes and How to Avoid Them
Even seasoned pros slip up when editing model photoshoot images. The difference is they know how to spot a bad edit fast and course-correct. Here are some mistakes folks make all the time—and what you can do instead.
- Over-smoothing Skin: It’s tempting to try for “flawless,” but human skin has pores and texture. If you overdo skin smoothing, your subject ends up looking like plastic. Use low settings on smoothing tools, and always keep some skin detail. Zoom in and out while you work so you don’t lose the real look.
- Crazy Bright Eyes and Teeth: Whitening eyes and teeth can perk up a shot, but it’s easy to spot if it’s too much. If it glows in the dark, dial it back. Aim for a subtle lift—think clean, not neon.
- Fake Colors: Pushing saturation or contrast too far messes with natural tones. The reds in skin or lips start looking cartoonish, and the background can get weird. Stick with small changes at a time. Step away from your screen for a few minutes, then check again before calling it done.
- Ignoring Edges: Ever seen a photo where hair or arms look too sharp or fuzzy around the edges? That’s sloppy work. Use a soft brush and blend carefully, especially where the model meets the background.
- Spotty Retouching Consistency: Editing some parts of an image but skipping others leaves obvious marks. For example, you fix blemishes on the face but forget neck or shoulders. Always compare before-and-after versions side by side.
Here’s a table showing the pitfalls and simple fixes:
| Mistake | What Happens | How to Avoid |
|---|---|---|
| Over-smoothed skin | Plastic, fake look | Use light smoothing; preserve texture |
| Excess whitening | Unnatural eyes and teeth | Apply only subtle adjustments |
| Too much saturation | Weird, unrealistic colors | Small tweaks; check colors on another device |
| Poor edge blending | Obvious retouch lines | Use soft brushes; zoom in on edges |
| Inconsistent edits | Uneven, patchy results | Do a final scan over entire photo |
Bottom line: Keep your model recognizable, and take short breaks so you’re not editing on auto-pilot. Most of all, if you think "Would I notice this on a billboard?"—that’s your gut telling you to make sure it's real, not overdone.
