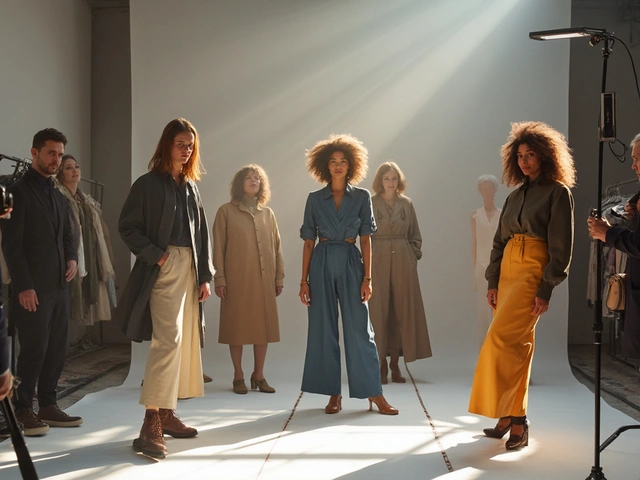
Ever wondered what really happens when the shutter clicks and a model strikes a pose? Below is a straight‑talk look at the behind‑the‑scenes decisions that shape a successful model photoshoot. From the first email to the final edit, you’ll get the nitty‑gritty a photographer thinks about every step of the way.
Quick Takeaways
- Clear pre‑shoot communication cuts confusion and saves time.
- Choose lighting that matches the story, not just the gear.
- Directing models is about trust, not commands.
- Stick to a simple camera setting formula: ISO200→f/2.8→1/125sec for indoor soft‑light.
- Post‑production should enhance, not overhaul, the image.
Understanding the Photographer’s Role
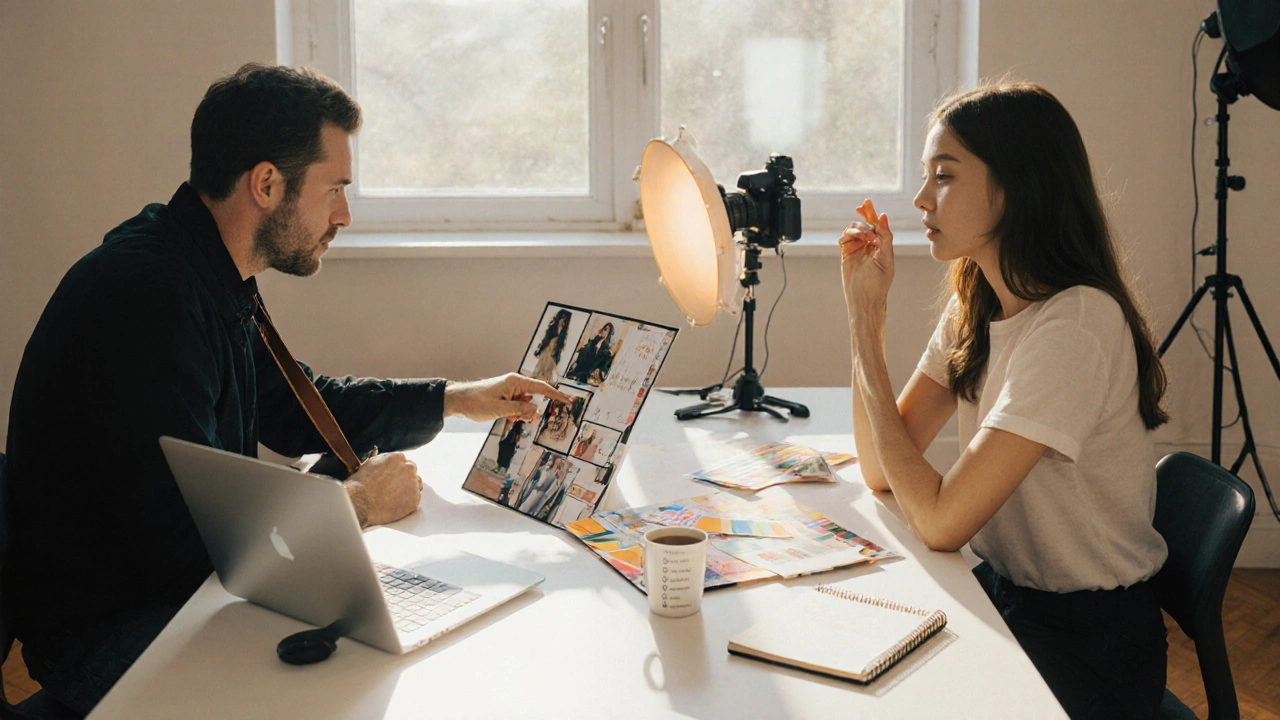
Photographer is a visual storyteller who translates concepts into light and composition. In a model photoshoot, the photographer wears many hats: planner, director, technician, and sometimes even morale‑coach. Recognising these roles helps models see why certain directions feel like “just a technical tweak” rather than arbitrary demands.
Model Photoshoot is a collaborative session where a model, photographer, and often a stylist create images for portfolios, campaigns, or editorial use. The success of the shoot hinges on both creative alignment and practical logistics.
Pre‑Shoot Planning
Before the first click, the photographer and model should exchange a short brief. Ask questions like: "What mood are you after?" or "Which angles make you feel confident?" This dialogue sets expectations and prevents last‑minute rewrites.
Location matters. Whether it’s a Bristol dockside at sunset or a studio with white walls, the Location influences natural light direction, backdrop options, and even wardrobe choices. A quick scouting trip or virtual walk‑through can reveal hidden reflections or unwanted shadows.
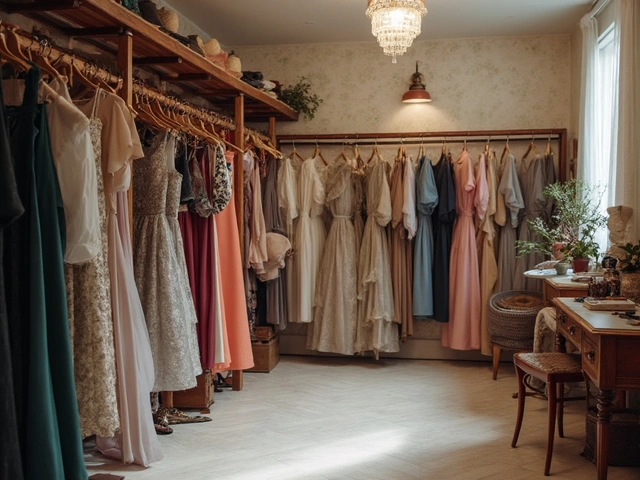
Wardrobe is another pivot point. Coordinate colors with the background: earthy tones for outdoor shoots, bright primary hues for a studio pop. Bring a spare outfit in case the first look doesn’t translate on camera.

Lighting Choices
Lighting is the heartbeat of any shoot. Two popular setups dominate the industry:
| Aspect | Natural Light | Studio Strobe |
|---|---|---|
| Control | Limited - depends on weather | High - power and modifiers adjustable |
| Setup Time | Quick - just find a window | Longer - position lights and gels |
| Cost | Free | Equipment rental or purchase |
| Typical Use | Soft, organic portraits | Sharp, dramatic fashion shots |
| Portability | Excellent - just a reflector | Medium - power packs needed |
If you’re shooting in a cloudy Bristol afternoon, a single 45‑cm softbox mimics the diffuse sky and gives you consistent output. For night cityscapes, a battery‑operated strobe paired with a grid can isolate the model from neon spill.
Directing the Model
Great poses start with conversation. Instead of saying "Turn your left shoulder 30 degrees," try "Imagine you’re leaning into a gentle breeze." This mental cue releases tension and produces natural movement.
Use reference images sparingly. Show one or two mood boards, then ask the model to interpret the vibe. Models appreciate being treated as creative partners, not just subjects.
Physical cues work well: a light tap on the elbow or a gentle hand on the waist offers clear direction without shouting. Remember to praise effort immediately - "That line looks strong!" - to keep energy high.
Camera & Lens Settings
Camera choice matters less than mastering its basics. A full‑frame 24‑MP DSLR or mirrorless body with good low‑light performance covers 95% of scenarios.
Lens selection shapes perspective. A 50mmf/1.8 prime offers a flattering focal length for half‑body portraits and lets you shoot at ISO200 with a clean background blur. For full‑body fashion, a 24‑70mm zoom covers wide‑angle runway shots and tight detail work without swapping glass.
Here’s a quick formula most photographers keep on hand:
- Set ISO to the lowest clean value (usually 100‑200 for daylight, 400‑800 for indoor).
- Choose aperture based on depth of field: f/2.8‑f/4 for shallow, f/5.6‑f/8 for group shots.
- Adjust shutter speed to be at least 1/(focal length × 2) to avoid camera shake - e.g., 1/125sec for a 50mm lens.
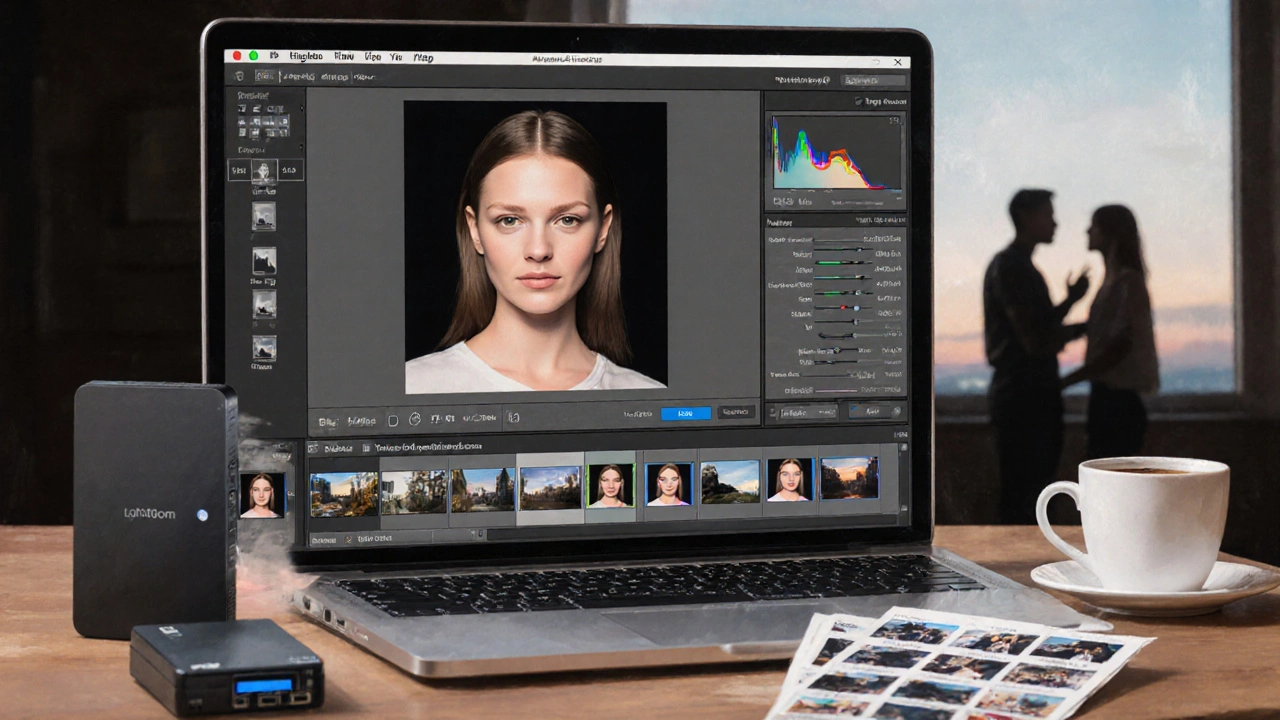
Post‑Production Workflow
The edit should feel like the final polish on a sculpture, not a complete overhaul. Start with basic exposure correction, then move to colour balance that matches the lighting style you chose.
Use non‑destructive layers in Lightroom or Photoshop. A typical workflow:
- Import raw files and apply a preset for consistent tone.
- Fine‑tune exposure, contrast, and white‑balance.
- Spot‑heal minor skin blemishes - keep texture.
- Apply a subtle vignette to draw focus to the model.
- Export two versions: a web‑ready JPEG (80% quality) and a high‑res TIFF for print portfolios.
Remember, the model’s personality should remain visible. Over‑smoothing can turn a vibrant portrait into a plastic mannequin.
Common Pitfalls & Pro Tips
Pitfall: Assuming the model knows the pose language. Tip: Demonstrate one pose yourself or use a mannequin.
Pitfall: Relying on auto‑focus in low light. Tip: Switch to a single‑point focus on the eye and boost the AF assist lamp.
Pitfall: Forgetting to backup files on set. Tip: Bring a portable SSD and copy images after every 20‑minute break.
Finally, schedule a short debrief after the shoot. Ask the model what felt comfortable and what could improve. This feedback loop builds trust and makes the next session smoother.
Frequently Asked Questions
How far in advance should a photographer plan a model photoshoot?
Ideally 1‑2 weeks for simple studio work, and 3‑4 weeks for location shoots. This window allows scouting, wardrobe sourcing, and contingency planning for weather.
What lighting setup works best for outdoor portraiture?
A large reflector (1‑2 m) opposite the sun creates soft fill light, while a portable LED panel can add a rim‑light if the sun is low. Keep the fill ratio around 2:1 for natural‑looking skin tones.
Should I use the model’s own clothing or provide a stylist?
If the shoot is portfolio‑focused, the model’s personal wardrobe often reflects their style and works well. For commercial or themed shoots, hiring a stylist ensures brand‑consistent outfits and reduces on‑set wardrobe changes.
What aperture should I choose for a full‑body fashion shot?
Around f/5.6‑f/8 balances depth of field and keeps the entire figure in sharp focus while still allowing some background separation.
How many images should I deliver to the model after a shoot?
Deliver a curated selection of 10‑15 edited shots that showcase variety, plus the full set of raw files if the model requests them for personal use.


October 13, 2025 AT 17:31
Eva Ch
Thank you for sharing such a comprehensive overview of the model shoot process; the clarity of your sections is commendable, and the inclusion of practical formulas is especially helpful. I appreciate the emphasis on pre‑shoot communication, as it indeed mitigates misunderstandings, and the reminder to back up files cannot be overstated. Your lighting comparison table offers a succinct visual reference, which many photographers will find invaluable. Moreover, the advice on directing models with conversational cues aligns perfectly with fostering a comfortable creative environment. Overall, this article serves as an excellent checklist for both emerging and seasoned professionals.
October 14, 2025 AT 01:51
Julie Corbett
The exposition presented here attains a level of erudition rarely encountered in quotidian blog discourse. One discerns an implicit reverence for the photographic arts that borders on the aesthetic sublime. The author’s predilection for systematic methodology reflects a cultivated mindset befitting a connoisseur of visual semiotics. Nonetheless the omission of avant‑garde experimental techniques betrays a certain conservatism that may displease the more adventurous practitioner.
October 14, 2025 AT 10:11
Gerald Matlakala
Reading this article makes one wonder, have the major camera manufacturers colluded to standardize those “simple formulas,” perhaps to keep independent photographers dependent on their proprietary gear? The lighting setups described seem deliberately vague, as if a hidden agenda wants us to purchase expensive strobes instead of using free natural light. Even the advice about backing up files could be a ploy to sell more external SSDs from the same corporate conglomerates. It’s unsettling, really, how every recommendation subtly nudges the reader toward higher‑priced accessories; one must stay vigilant.
October 14, 2025 AT 18:31
Vaishnavi Agarwal
It is sheer folly to neglect the emotional well‑being of the model in pursuit of a perfect composition; the photographer wields immense power and must therefore act with compassion. Treating the subject as a mere instrument betrays a profound ethical lapse that cannot be excused by artistic ambition. The article’s counsel on respectful dialogue shines like a beacon, urging us to replace commands with collaborative storytelling. Let us remember that every pose is a shared breath, a fleeting moment of trust that deserves reverence.
October 15, 2025 AT 02:51
Kirsten Stubbs
US photographers should stick to proven standards and stop chasing foreign trends.
October 15, 2025 AT 11:11
Sara Roberts
its great how u can learn these tips but dont forget to have fun.
October 15, 2025 AT 19:31
Terrance Bianco
The post talks about the steps of a photoshoot, and it sounds very normal, but there is more behind the scenes than most people realize. I think that every big brand behind the cameras has a plan, and that plan is to keep us buying more gear, and it starts with simple advice that seems harmless. When they say “use ISO 200 and f/2.8,” they are really telling us to use the settings that their sensors are calibrated for, and that limits our freedom. The lighting chart compares natural light and studio strobes, and while it looks objective, it hides the fact that many studios are owned by the same corporations that sell the lights. The suggestion to bring a spare outfit is another way to make us spend more on clothing, and the fashion industry is part of the same network. Even the advice to back up files on a portable SSD is a push for us to buy their recommended brands, and those brands often have secret agreements with the camera makers. The article mentions a “debrief” after the shoot, and that is a good idea, but it also gives them a chance to collect feedback that can be used to shape future products. I have seen similar patterns in other creative fields, where the experts tell us what to do, and then the companies profit from every new tool we need. It is like a chain reaction, one small suggestion leads to a bigger purchase, and the cycle continues. The truth is that many of these “best practices” are really marketing scripts, and we should question them. I have read that some photographers have been paid to promote certain lenses, and they hide that fact in their tutorials, which makes the advice less trustworthy. The more we rely on these guides, the more we become part of the system that the big manufacturers want us to be. So while the article is useful, keep your eyes open, think for yourself, and don’t let the hidden agenda dictate your creative choices.
October 16, 2025 AT 03:51
William Kramer
What an inspiring read, and thank you for breaking down the process so clearly; it really helps demystify the art of model photography. I love how you stress communication, because when the model and photographer are on the same page, magic happens. The lighting comparison is spot on, and it reminds us that both natural and studio light have their place in storytelling. Your tips on directing with imagination rather than rigid commands are especially valuable, as they foster a collaborative spirit. It’s also great to see the reminder about backing up files-data safety is a universal concern. The post balances technical detail with creative encouragement, which is exactly what the community needs right now. Let’s keep sharing knowledge like this, and support each other in growing our craft. Together we can create images that not only look good, but also feel authentic.
October 16, 2025 AT 12:11
Zakaria SANKARA
Oh great, another checklist, because we obviously needed more lists in our lives-how original. At least the grammar is correct, which is more than I can say for half the tutorials out there. If only posing models required as much paperwork as filing taxes.